How To Cut Fiberglass Reinforced Wall Panel

Image Result For Fiberglass Reinforced Plastic Frp Wall Panel Typical Wall Paneling Cladding Paneling

Duramax Designs Waterproof Vinyl Panel For Your Industrial Walls Vinyl Panels Waterproof Wall Panels Pvc Wall Panels

Image Result For Fiberglass Reinforced Plastic Frp Wall Panel Typical Fachada De Metal Diseno Exterior Diseno De Fachadas

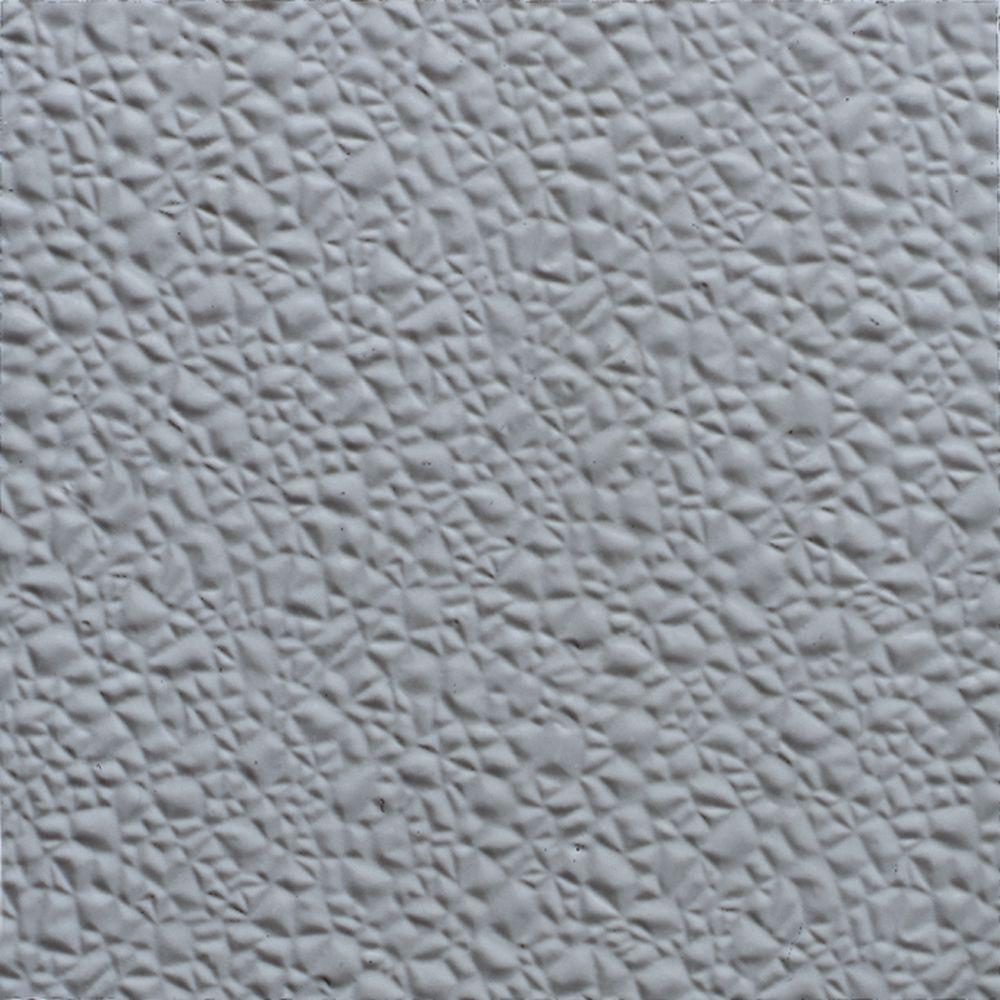
Panolam Frp Wall Panel 48 In X 8 Ft Embossed White Embossed Wall Panel Lowes Com Wall Paneling White Paneling Wall Board

Frp Panels Are Installed In The Restrooms Paneling Restroom Installation

4 X 8 Frp Wall Panel At Menards

Don t try to cut the frp all the way through.
How to cut fiberglass reinforced wall panel.

Image Result For Fiberglass Reinforced Plastic Frp Wall Panel Typical Wall Paneling Cladding Facade
Glasliner 4 Ft X 8 Ft Gray 090 In Fiberglass Reinforced Wall Panel 665041 The Home Depot

Fibercorr Wall And Ceiling Panels Consist Of A Fiberglass Reinforced Plastic Frp Overlay That Is Fa Ceiling Panels Corrugated Plastic Panels Plastic Ceiling

Read This Before Installing Frp Save Half On Material And Install 4x Faster With Vinyl

Discard Old Frp Panels Install Waterproof Vinyl Panels From Duramax Pvc Wall Panels Vinyl Panels Wall Panels

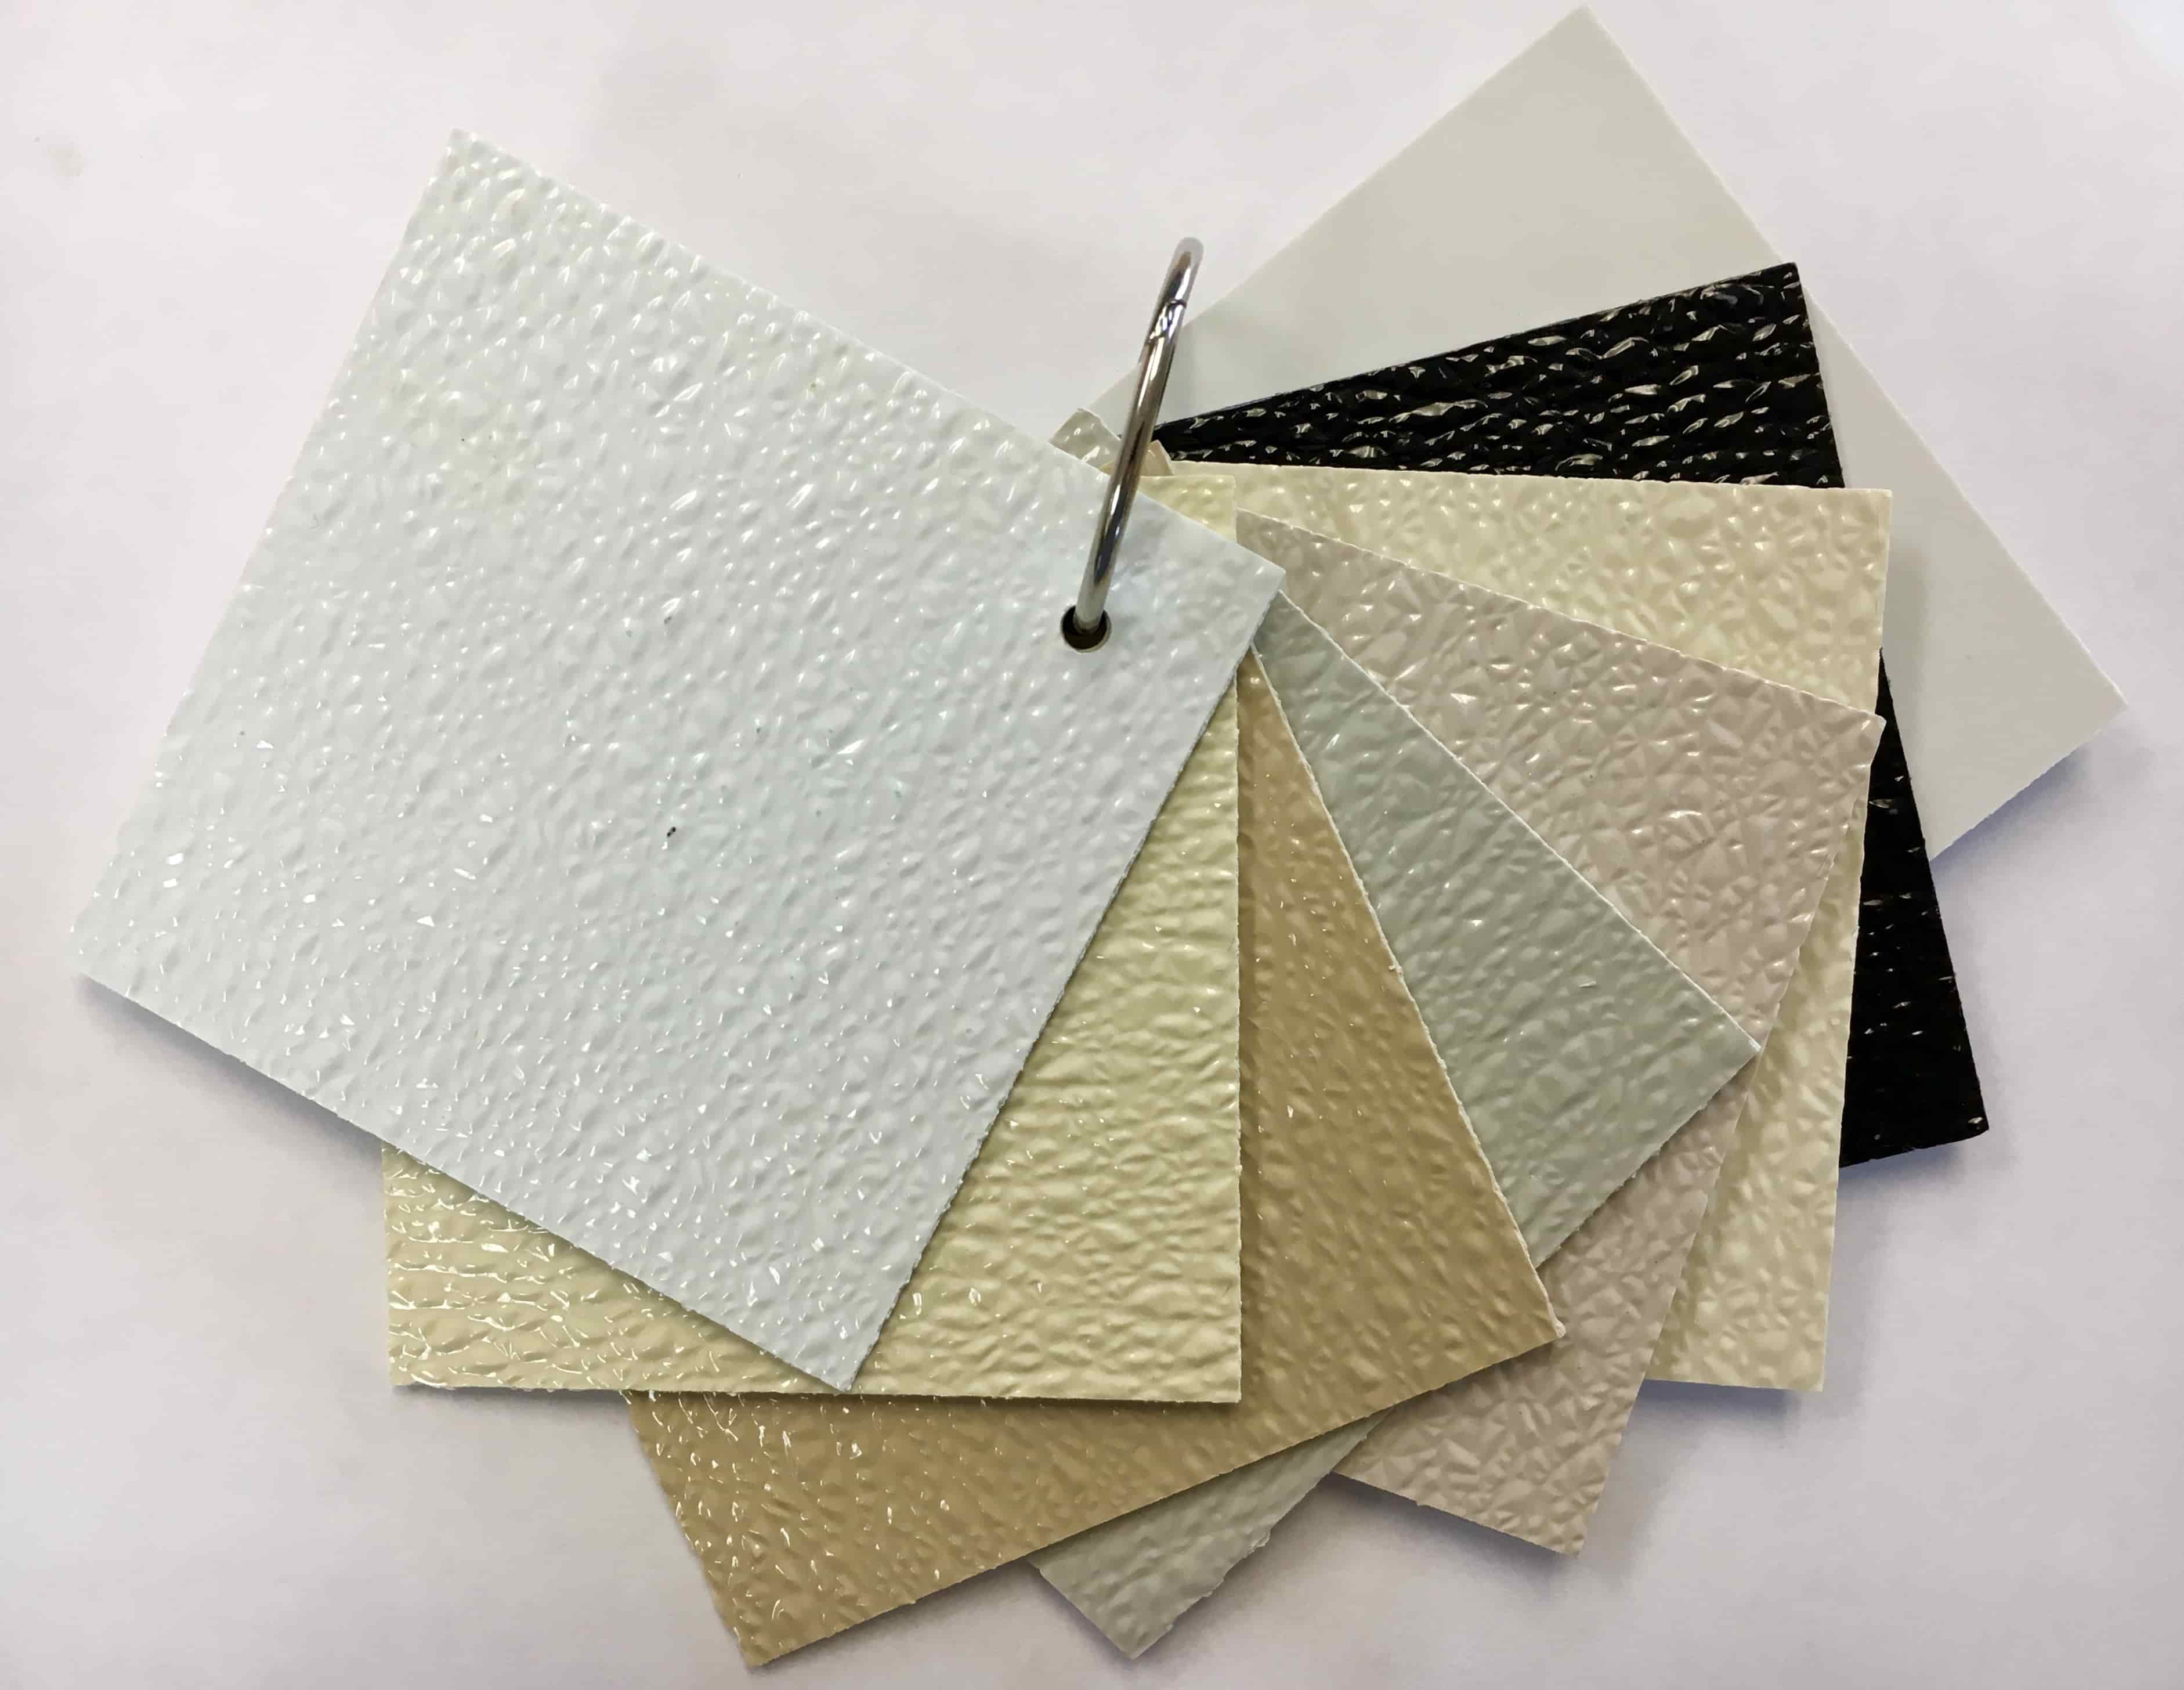
Sequentia 48 In X 9 Ft Embossed Almond Fiberglass Reinforced Wall Pane Wall Paneling Paneling Wall Treatments

Adhesive For Bathroom Wall Di 2020

Pin On Laser Cut Screens
Frp Panels Uses And Installation Inside Out Builders Supply
Pin On Diy

Frp Fiber Reinforced Plastic Wall Panels Marlite Frp Wall Bathroom Wall Panels Plastic Wall Panels Wall Panels

48 In X 8 Ft Embossed White Wall Panel Lowes Com White Wall Paneling Plastic Ceiling Panels Wall Paneling

48 In X 10 Ft Embossed Morning Mist Gray Sandstone Fiberglass Reinforced Plastic Frp Wall Panel Tiny Tavern Wall Tile Floor Grey

Pin By Design Wall Panel On Interior Wall Partition Design

Table Tops Furniture Components And Hardware Archiproducts Concrete Wall Panels Concrete Wall Tile Tables

Ce Center Fiberglass Reinforced Plastic High Performance In Ceiling And Wall Panels

Pin On Fibarglass

Pin On Interior Wall Partition Design
Https Encrypted Tbn0 Gstatic Com Images Q Tbn 3aand9gcrjjjgdtxwjpedmwxntmq5qo2amse8qxo0b Ups S Usqp Cau

3d Lattice Panel For Outdoor And Indoor Instalation High Quality Concrete Application Partition Walls Concrete Wall Panels Concrete Decor Precast Concrete

Pin On Loft Decor

Fiberglass Wall Panels How Do You Clean Frp And Can You Paint It How Do You Clean Wall Panels Paneling

Stealth Access Door Ceiling Or Wall Attic Access Door Basement Ceiling Attic Doors

Embossed Wallcoverig Comes In The Form Of Plant Fiber Products Our Embossed Wallcovering 2nd Generation Are Built To Be Long Lasting And To Resist W Revestimento
Source : pinterest.com
